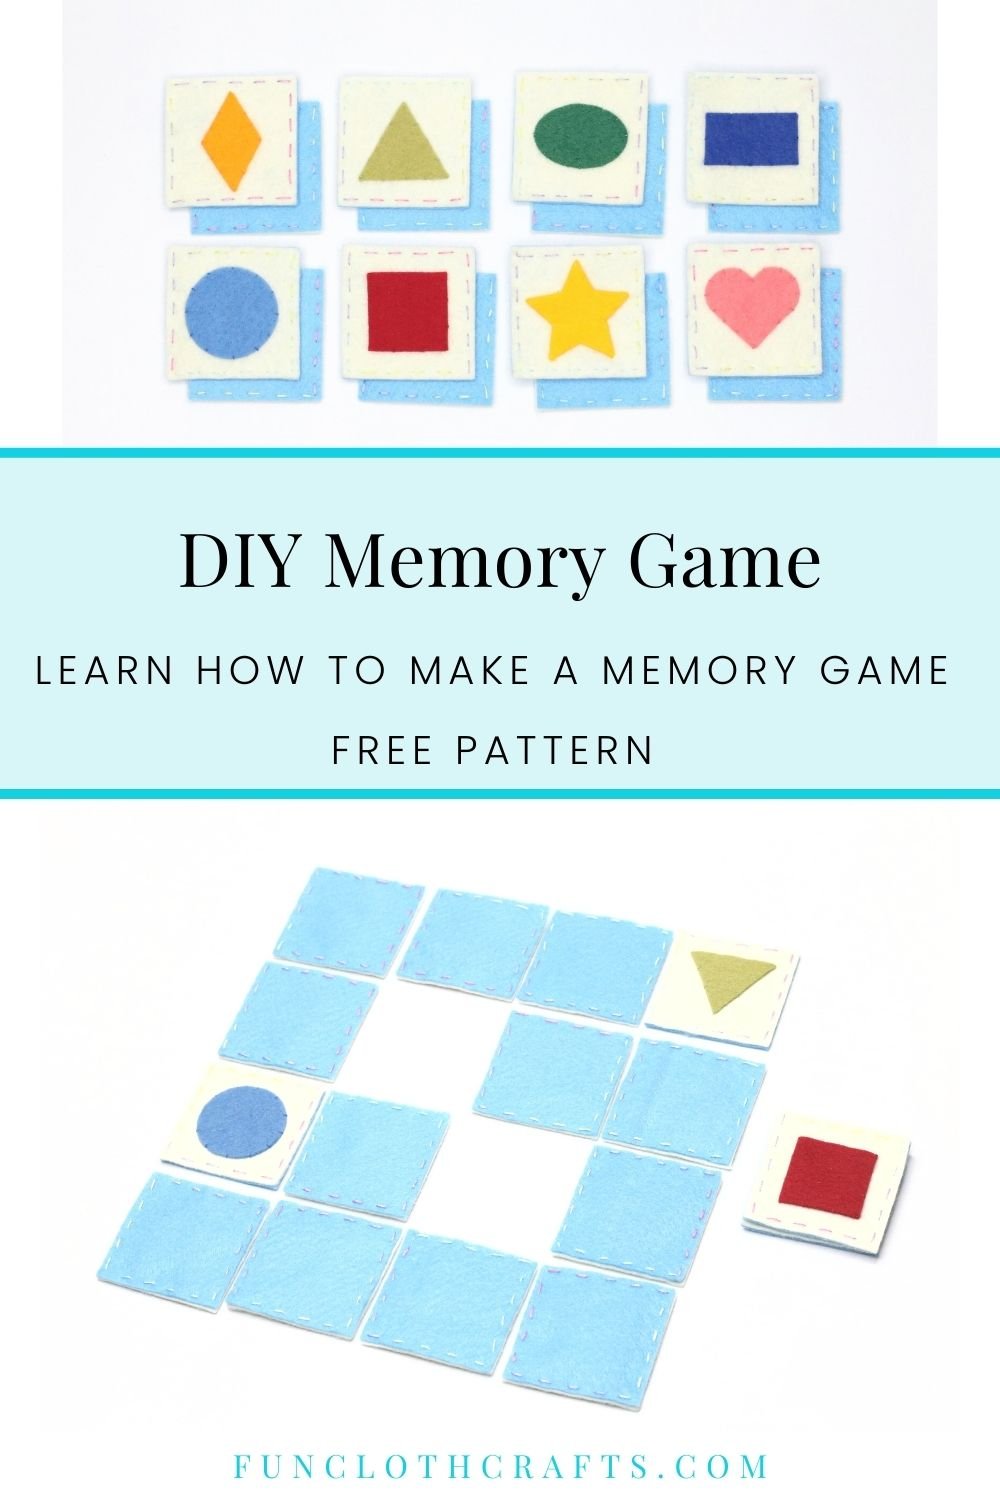
How to Make a Felt Memory Game
This post contains affiliate links, which means I may earn a small commission at no additional cost to you if you click through the link and make a purchase. For more information, click here.
The memory game is so much fun! Although being a simple game, it brings lots of development benefits to your child. It boosts kids' memory, improves concentration, helps with fine motor skills, to mention some. Therefore today, I'm bringing you a tutorial on how to make your own DIY memory game from felt. The game is simple to sew, fast to play, and easy to take on your trips. This tutorial includes a free felt memory game pattern, shape ideas for the felt matching game, and the steps on how to make the memory game.
Happy playing!
The felt memory game matching pairs will make a lovely handmade DIY present for a kid. It's an excellent beginners' sewing project. Moreover, the great news is you can reuse your felt scraps when sewing the matching game.
Memory Game Sizes, Shapes and Materials
You can make your DIY memory game cards in two basic shapes:
circles or
squares
The size of your felt cards should be around 2 inches (5 cm). For small kids (2 years), you can opt for a length of up to 3 inches (7.5 cm).
You can make your felt memory game cards from any kind of felt. If you use stiff felt, they'll be more rigid on a touch similar to cardboard paper. The wool blend felt will result in softer cards. If your felt is too soft and stretchy, it might be better to use medium-weight fusible interfacing to ensure the durability of your cards. If you want to learn more about the different types of felt, visit my post on how to sew felt.
You can either sew a felt applique or use matching buttons for your matching game design.
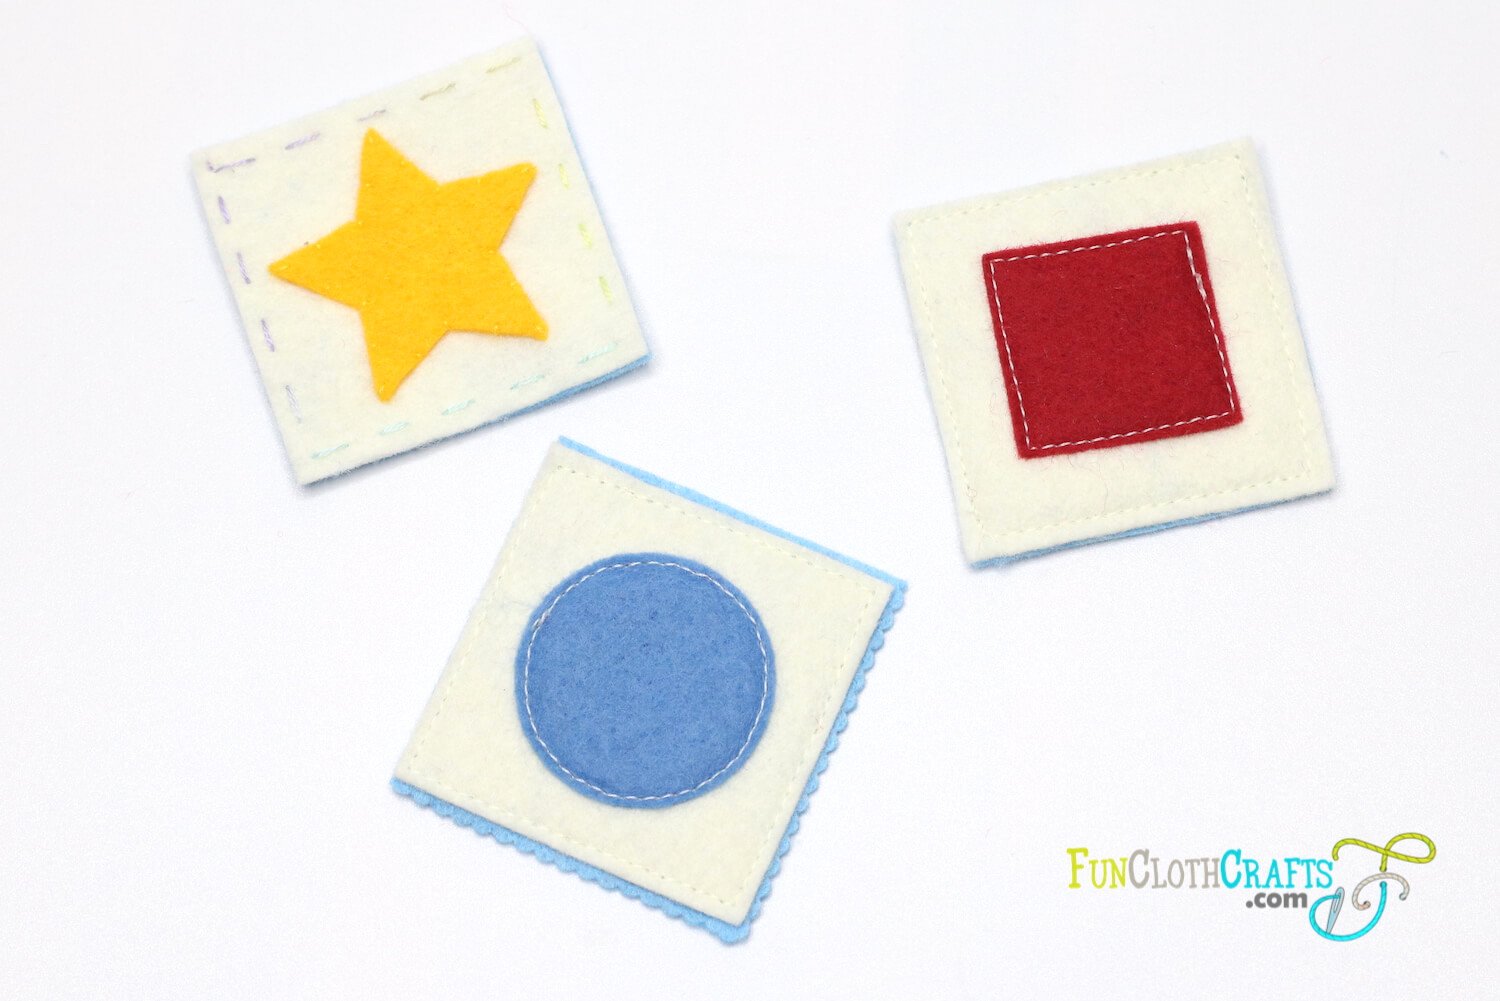
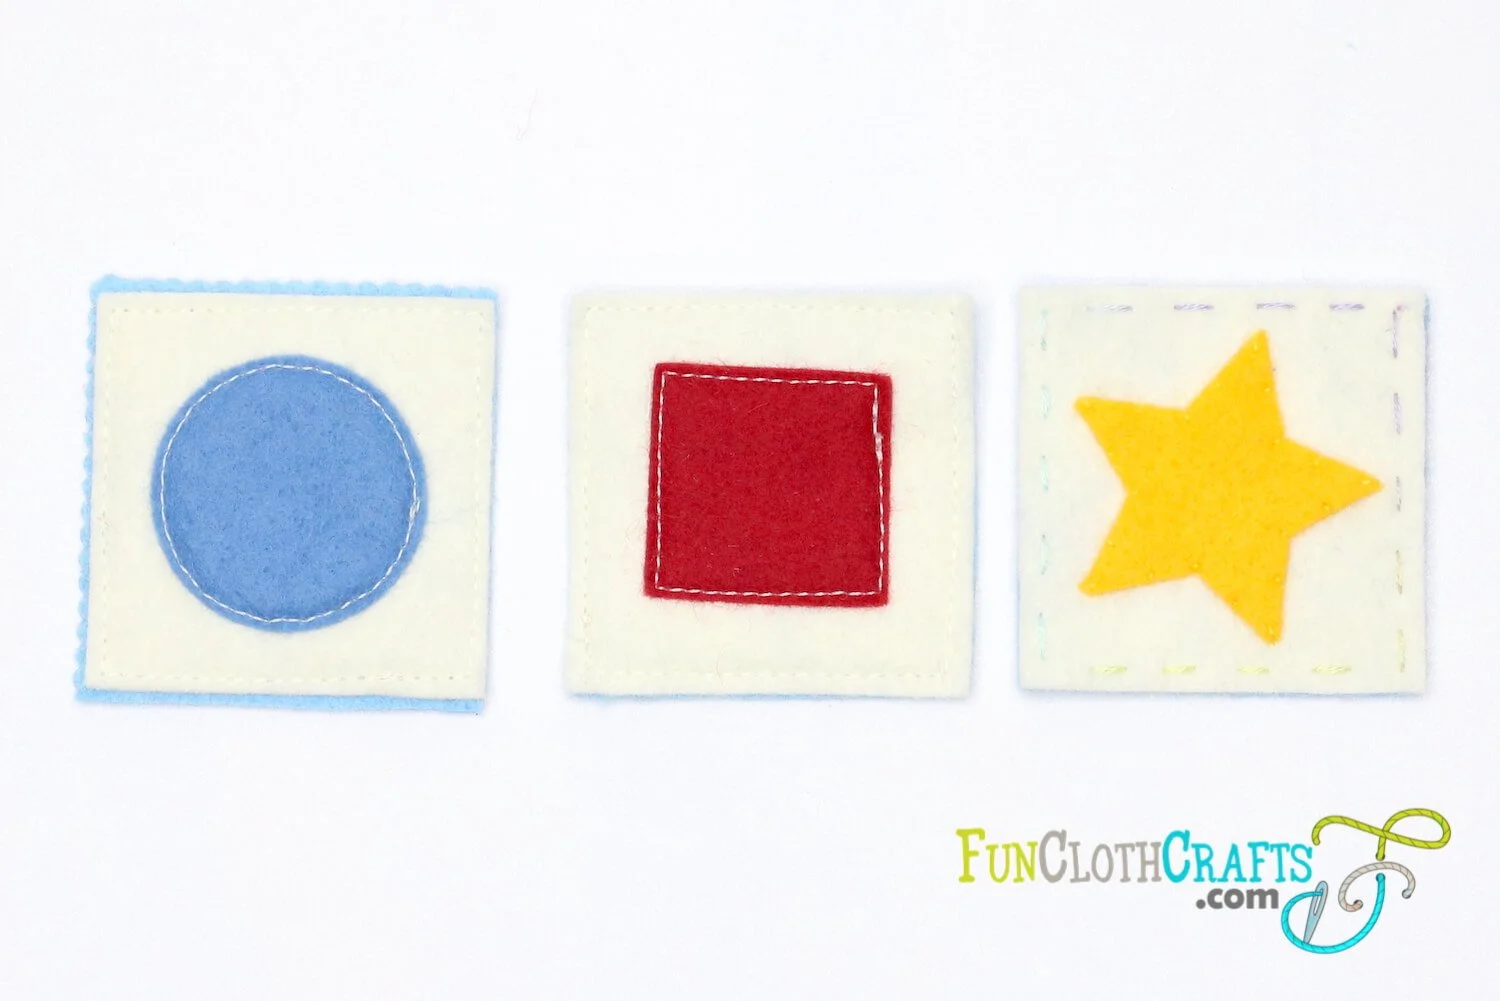
Felt memory game made with wool blend felt - three cards to compare between hand stitching and sewing machine and between cards with an edge and without edge
Materials & Supplies for Felt Memory Game
Free Felt Memory Game Shapes Template - to download the file, subscribe to the FunClothCrafts newsletter. In the newsletter, you find a password to the subscriber's Free Downloads Vault
Felt scraps for the designs
Felt sheets (find great felt at Benzie Design or find more buying options in the Types of Felt section of How to Sew Felt blog post) in one or two colors (depends if the cards are made with one color or two)
Scissors (my favorite ones are KAI 5 1/2 inch embroidery scissors or KAI 6 1/3 inch patchwork scissor)
Pins (Dritz Quilting Pins) or glue (I use Beacon Fabri-Tac) for pieces attachment before sewing
Optional (if you’re hand sewing the memory game):
Embroidery floss (DMC embroidery floss including hand needles)
Embroidery needle (Clover Embroidery needle)
Optional (if you’re sewing the memory game with sewing machine):
Sewing machine
All-purpose polyester thread
Ideas for Felt Memory Game Themes
Here I share different ideas for your matching game cards designs:
color felt squares
numbers
food
animals
means of transport
nature symbols (leaves, trees, animals)
holidays (Christmas, Easter, St.Patrick's Day, etc.)
weather
seasons (spring, summer, autumn, winter)
music (musical instruments, notes)
shapes
How to Make Memory Game - Shapes Memory Game with Free Pattern
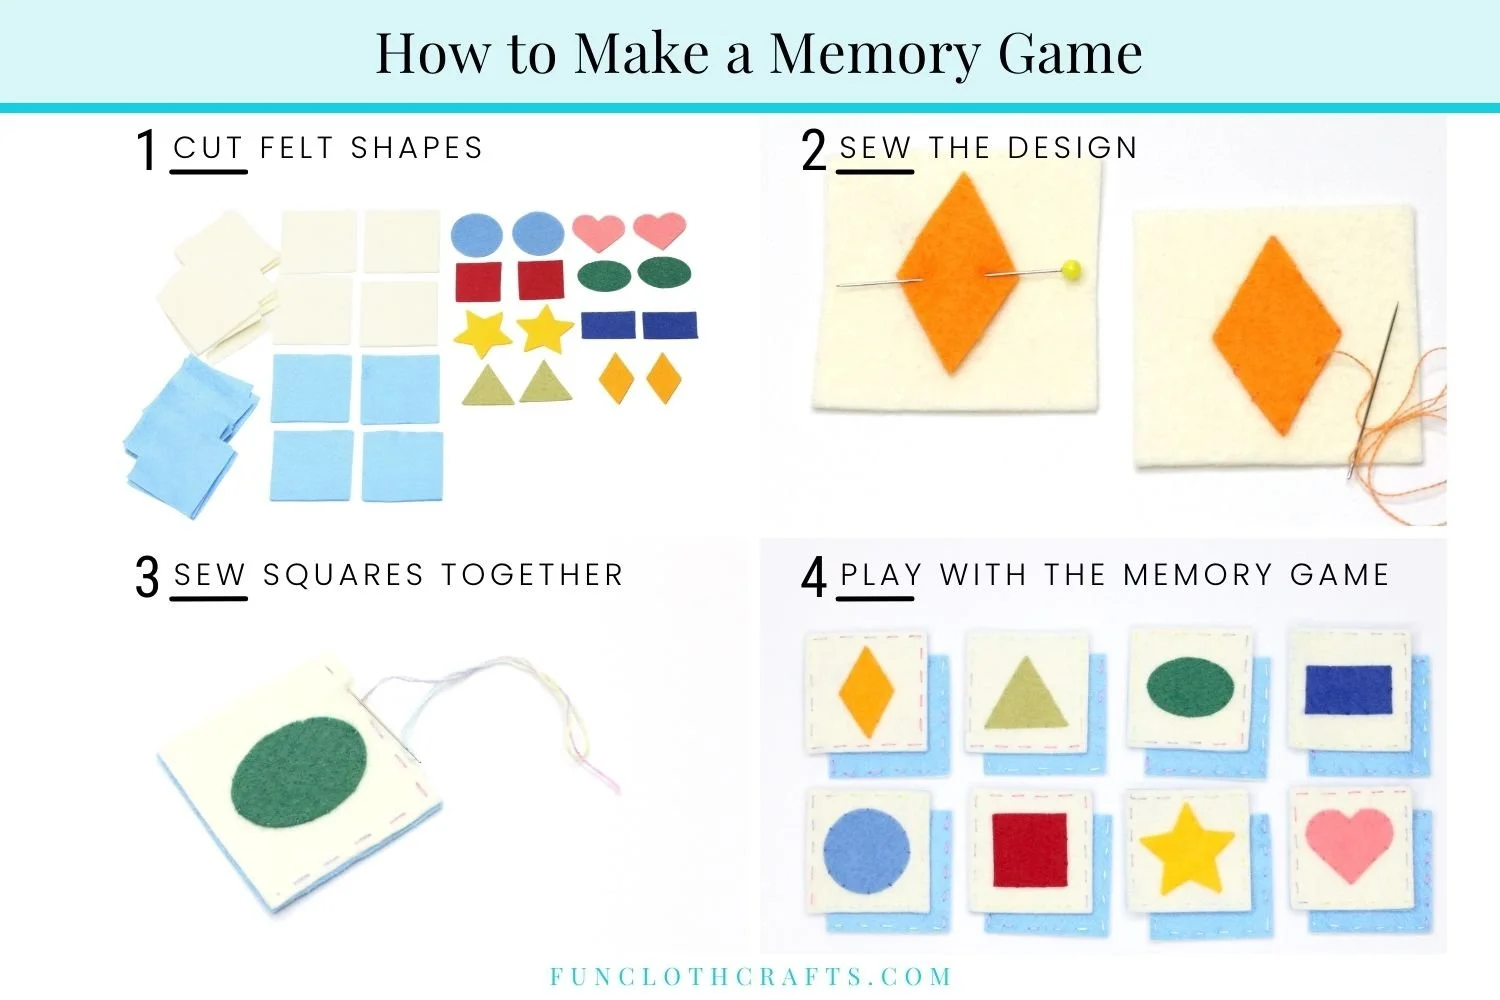
How to Make Memory Game
Follow these generic steps to make your DIY memory game:
Prepare the felt squares for matching game
For 16 cards, you'll need 32 squares. Here you have two options on how to cut the felt squares:
cutting all the squares at the desired size, for example, 2 inches (you could also choose two colors for your memory game cards; one for the front part of the cards and one for the back part of the cards)
cutting 16 felt squares of 2 x 2 inches (5 x 5 cm) and 16 felt squares slightly bigger of 2.5 x 2.5 inches (6 x 6 cm) (you'll trim off the excess after sewing); for sewing with a sewing machine I would recommend this option
You can cut the squares using sharp fabric scissors, roller cutter and cutting mat, or your die-cut machine.
If you choose to cut the felt squares with scissors, you can help yourself as follows:
Trace the square pattern on cardboard.
Following the lines, cut the square out with normal scissors (never use your fabric scissors on paper).
Outline the square on felt with a tailor's chalk or air erasable pen.
Cut the squares from felt.
TIP: I cut felt with a Cricut maker using a rotary blade. It's a popular die-cutting machine for felt. I wrote a post about different die-cut machines for felt when I bought my die-cut machine in June 2021. You can visit the post if you are looking for more information.
Cut the chosen design from felt
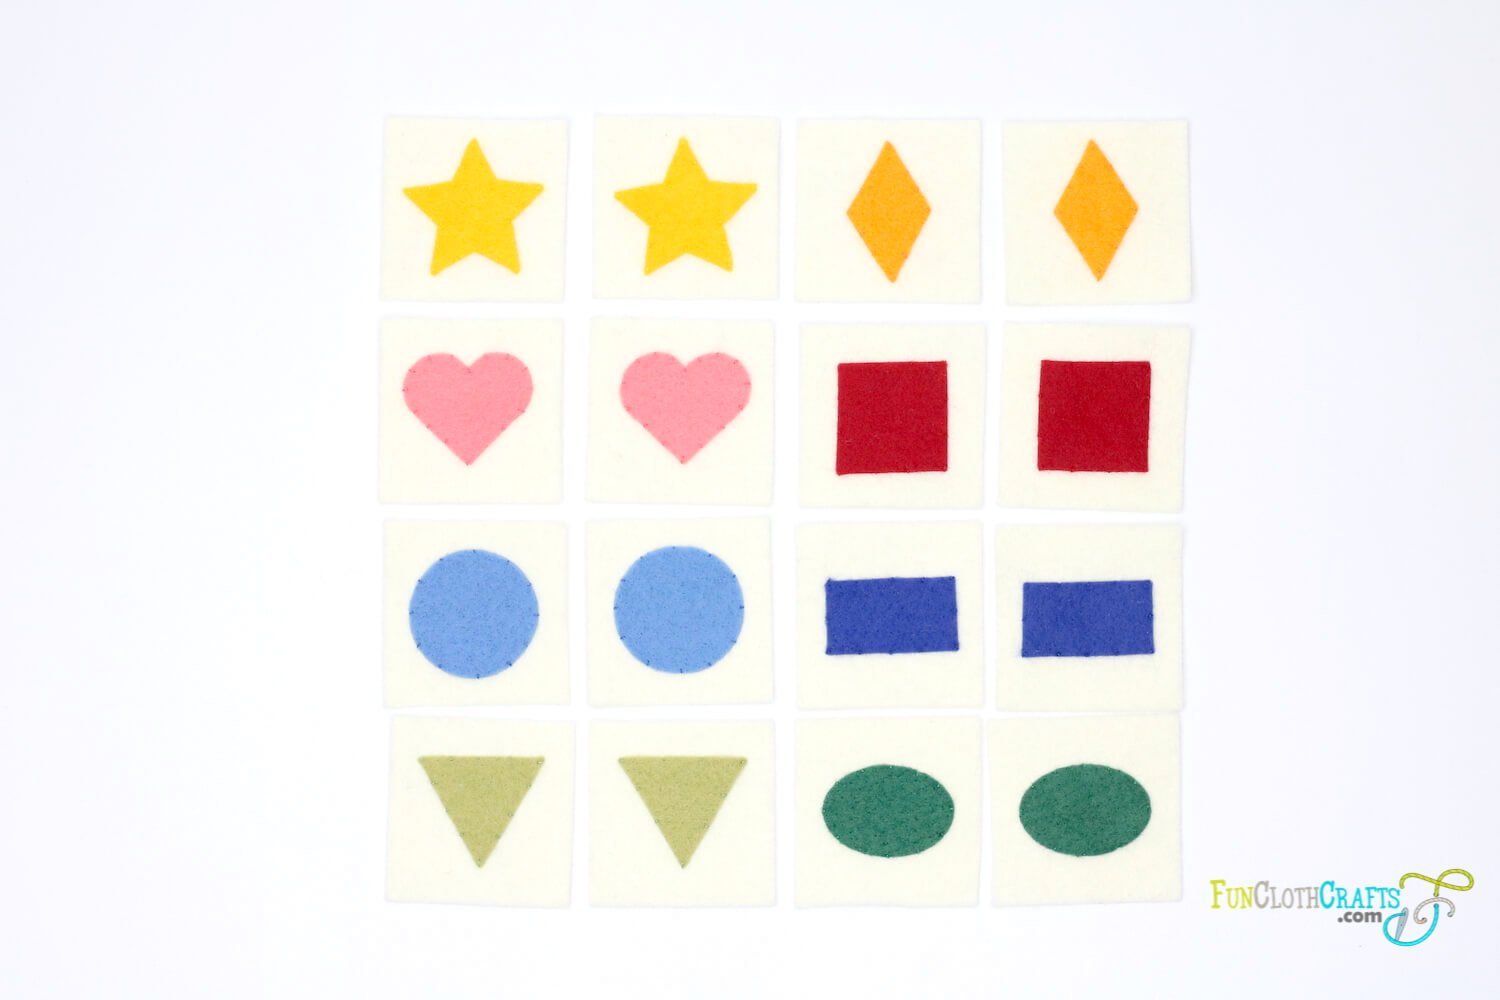
You'll always need to cut a pair of felt shape designs (two pictures of the same) using scissors or a die-cut machine (if you own one). So for this memory game, you'll need 8 pairs of designs. This post comes with the free shapes memory game template. If you want to do your design and don't know how to draw it, I would go to google and search in google images for inspiration. For example, let's say you would like to do a fruit memory game. Go to google images and type "fruit vocabulary." This search will offer you plenty of options that you can use for your fruit memory game design.
TIP: You can learn more about felt cutting in 6 ways on how to cut out felt shapes.
Hand sew or machine sew the designs onto the card
Choose the front square of your cards or the smaller one if you opted for the version with two sizes. Place the cut felt shape design onto the card and start sewing.
If you are hand sewing, use running stitch, whip stitch, or blanket stitch to attach the felt design.
TIP: To learn more about embroidery stitches, visit the post 9 embroidery stitches for felt.
If you are using a sewing machine, apply the straight stitch.
Sew front and back squares together
Place the back felt square together with the front one using pins or clips. Sew by hand or with a sewing machine close to the edge. If you are sewing by hand, use running stitch or blanket stitch.
Trim off the excess felt with scissors (optional)
If your back square is larger than your front one, trim the excess felt at this point. Cut with embroidery scissors or pinking shears close to the edge. Just be careful that you never cut your thread.
Time to play with your DIY memory game
Different Memory Game Cards Designs - Hand Sewing and Machine Sewing, with Edge and without Edge
How to Play Memory Game
Sharing some ways you can play with the memory game cards. Kids as small as two can have lots of fun with the cards. Happy playing!
The classic matching game
The game aims to find the memory game matching pairs.
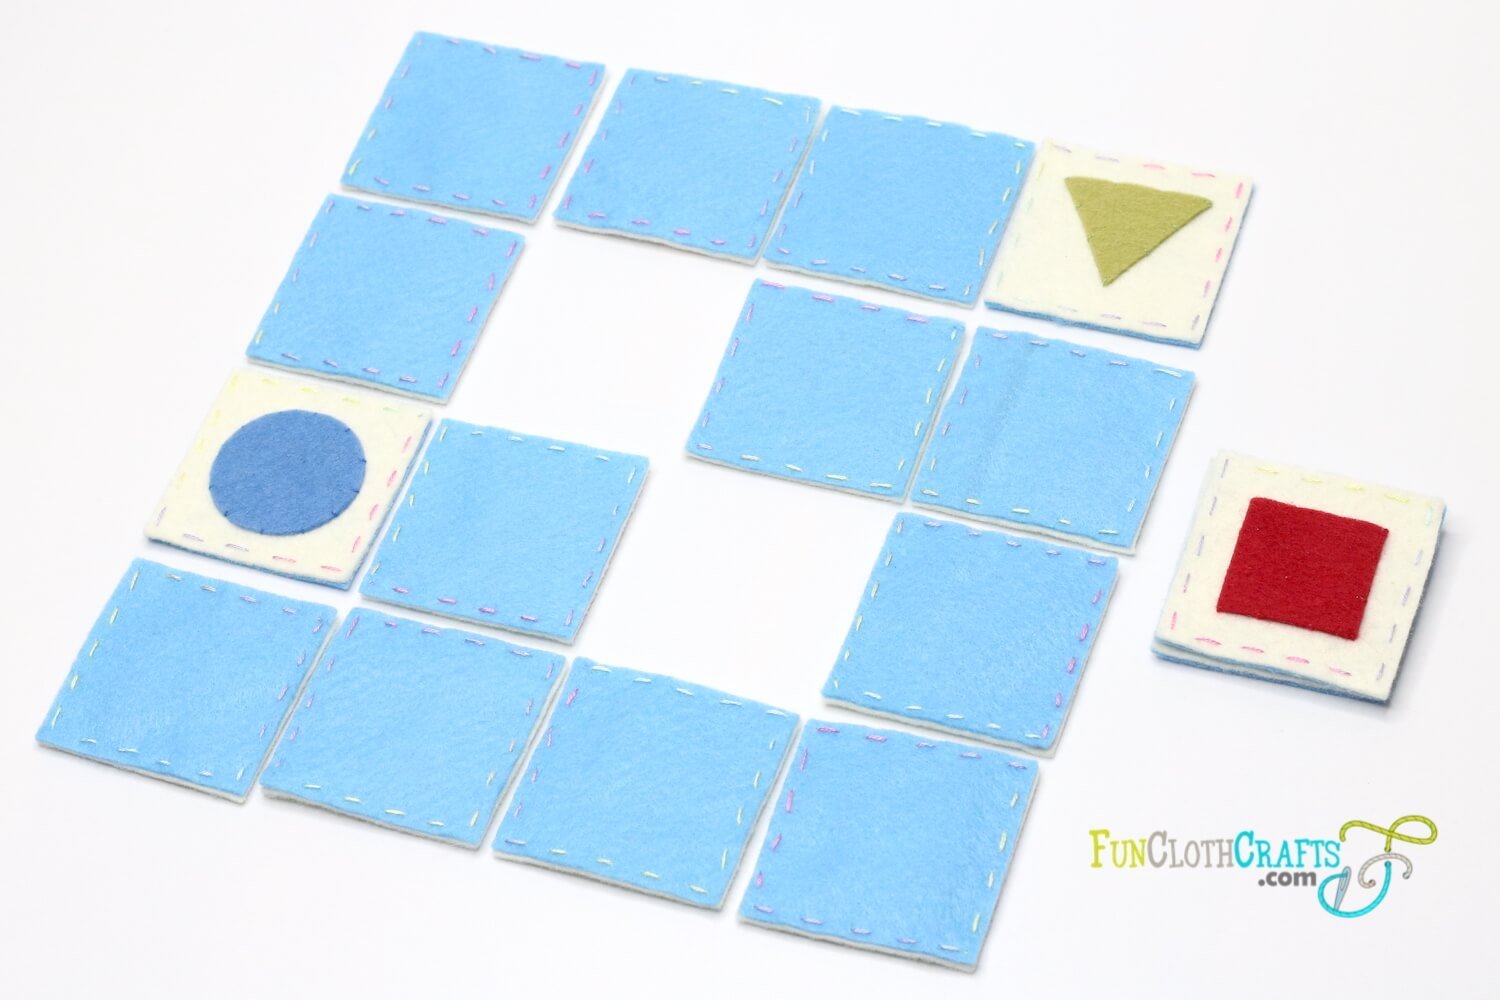
1) Place cards with the design facing down, preferably on a flat surface, in random order.
2) Take turns; if it's your turn, flip over two cards face-up. If the cards are matching, take them. If not, turn them again face-down. It's the next player's turn.
3) The player with the most pairs of memory game cards is the winner.
Match up game
This game is suitable for small kids (about two years old).
1) Place one card from each pair face-up. Place the remaining cards on a pile.
2) Your kid takes one card from the pile and tries matching it with the cards that are faced up.
3) Continue until all the cards are allocated.
Other ways to play with the memory game cards
If the cards' design allows (shapes, colors, etc.), you can sort them per color. This game will be more fun with more felt memory games together.
Another way to play with the DIY memory game is to explain what you see on the card or tell a story. This version of the game will increase the kid's vocabulary.
Shapes Memory Game Matching Pairs
To Wrap Up
The memory game is not only fun to play but also a useful game for your child's development. With its help, kids boost their memory, improve attention spam, enhance fine motor skills, develop visual perception, and more. I hope that following this memory game tutorial, you can sew your felt memory game that's going to entertain your kid wherever you go. It can also become a lovely handmade gift or find its place during homeschooling and classroom time.
Thank you for felt crafting with me! I'll be happy to see your memory games! You can tag me on Facebook, Instagram :)
Be sure to visit more on this website for free embroidery and sewing tips & tricks to help you out as you stitch my patterns. For free felt patterns, visit my Freebies page.
Feel free to join my mailing list! You’ll receive updates on new patterns, the latest tips & tricks, and special promotions.
Let’s craft together!
XO, Anna


